MacStadium offers virtualization of macOS, Windows, and Linux on genuine Apple hardware by pairing it with VMware. We offer the latest stable version of the VMware ESXi hypervisor on dedicated hardware, so extending your on-premises VMware setup to the cloud is secure and won’t require you to remake the wheel in the process.
Today, we’ll walk through the process of creating your first Mac VM running on VMware at MacStadium via the vCenter user interface.
vCenter UI
First, you’ll want to sign in to your vCenter instance hosted by MacStadium. The MacStadium private cloud options you selected at signup will determine the number of physical hosts you see in your vSphere cluster. As you grow, you will be able to manage multiple networks or groups of hosts within this same interface.
Create a Single Mac VM in VMware
First, in the vCenter Navigator, right-click on the Cluster and select New Virtual Machine.
Then, select Create a new virtual machine and then select Next.
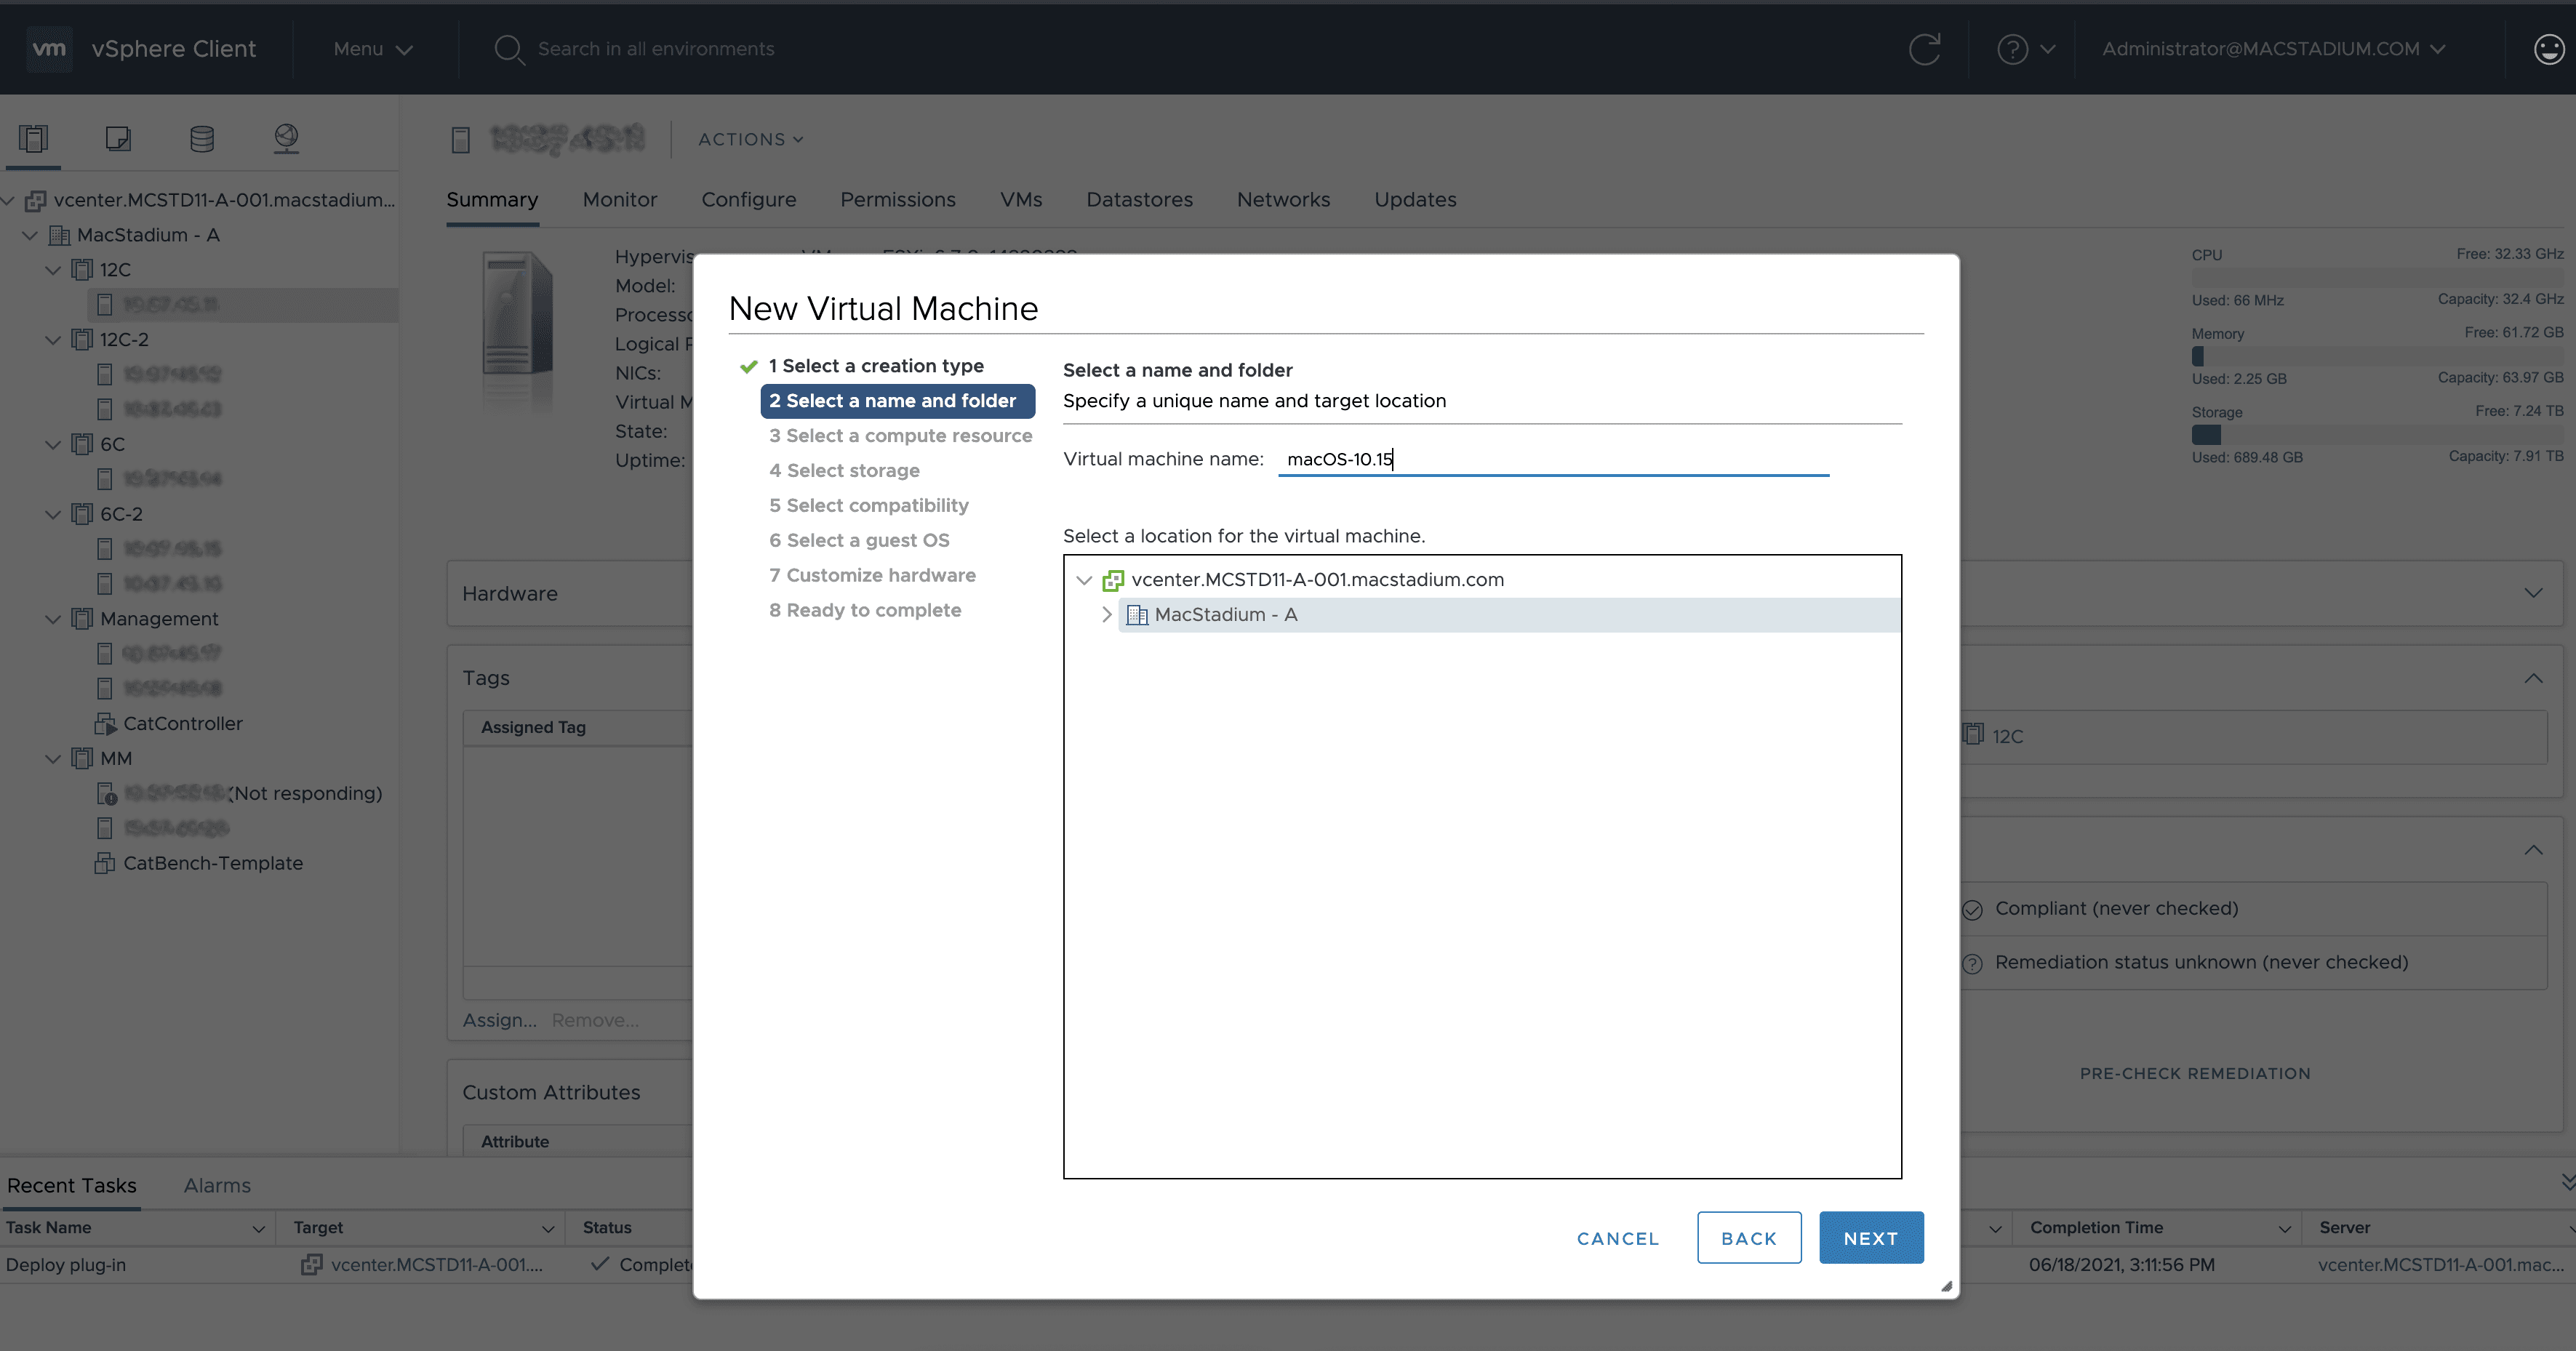
Choose a name for the VM, for example, “macOS-10.15” and then select Next.
In Select a compute resource, click Next. If you don’t have DRS Mode enabled, you will be prompted to select a specific host to deploy your Mac VM to. Otherwise, VMware will select a host for you.
Select the datastore for your VM’s files (generally you will only have one of these). Select Next.
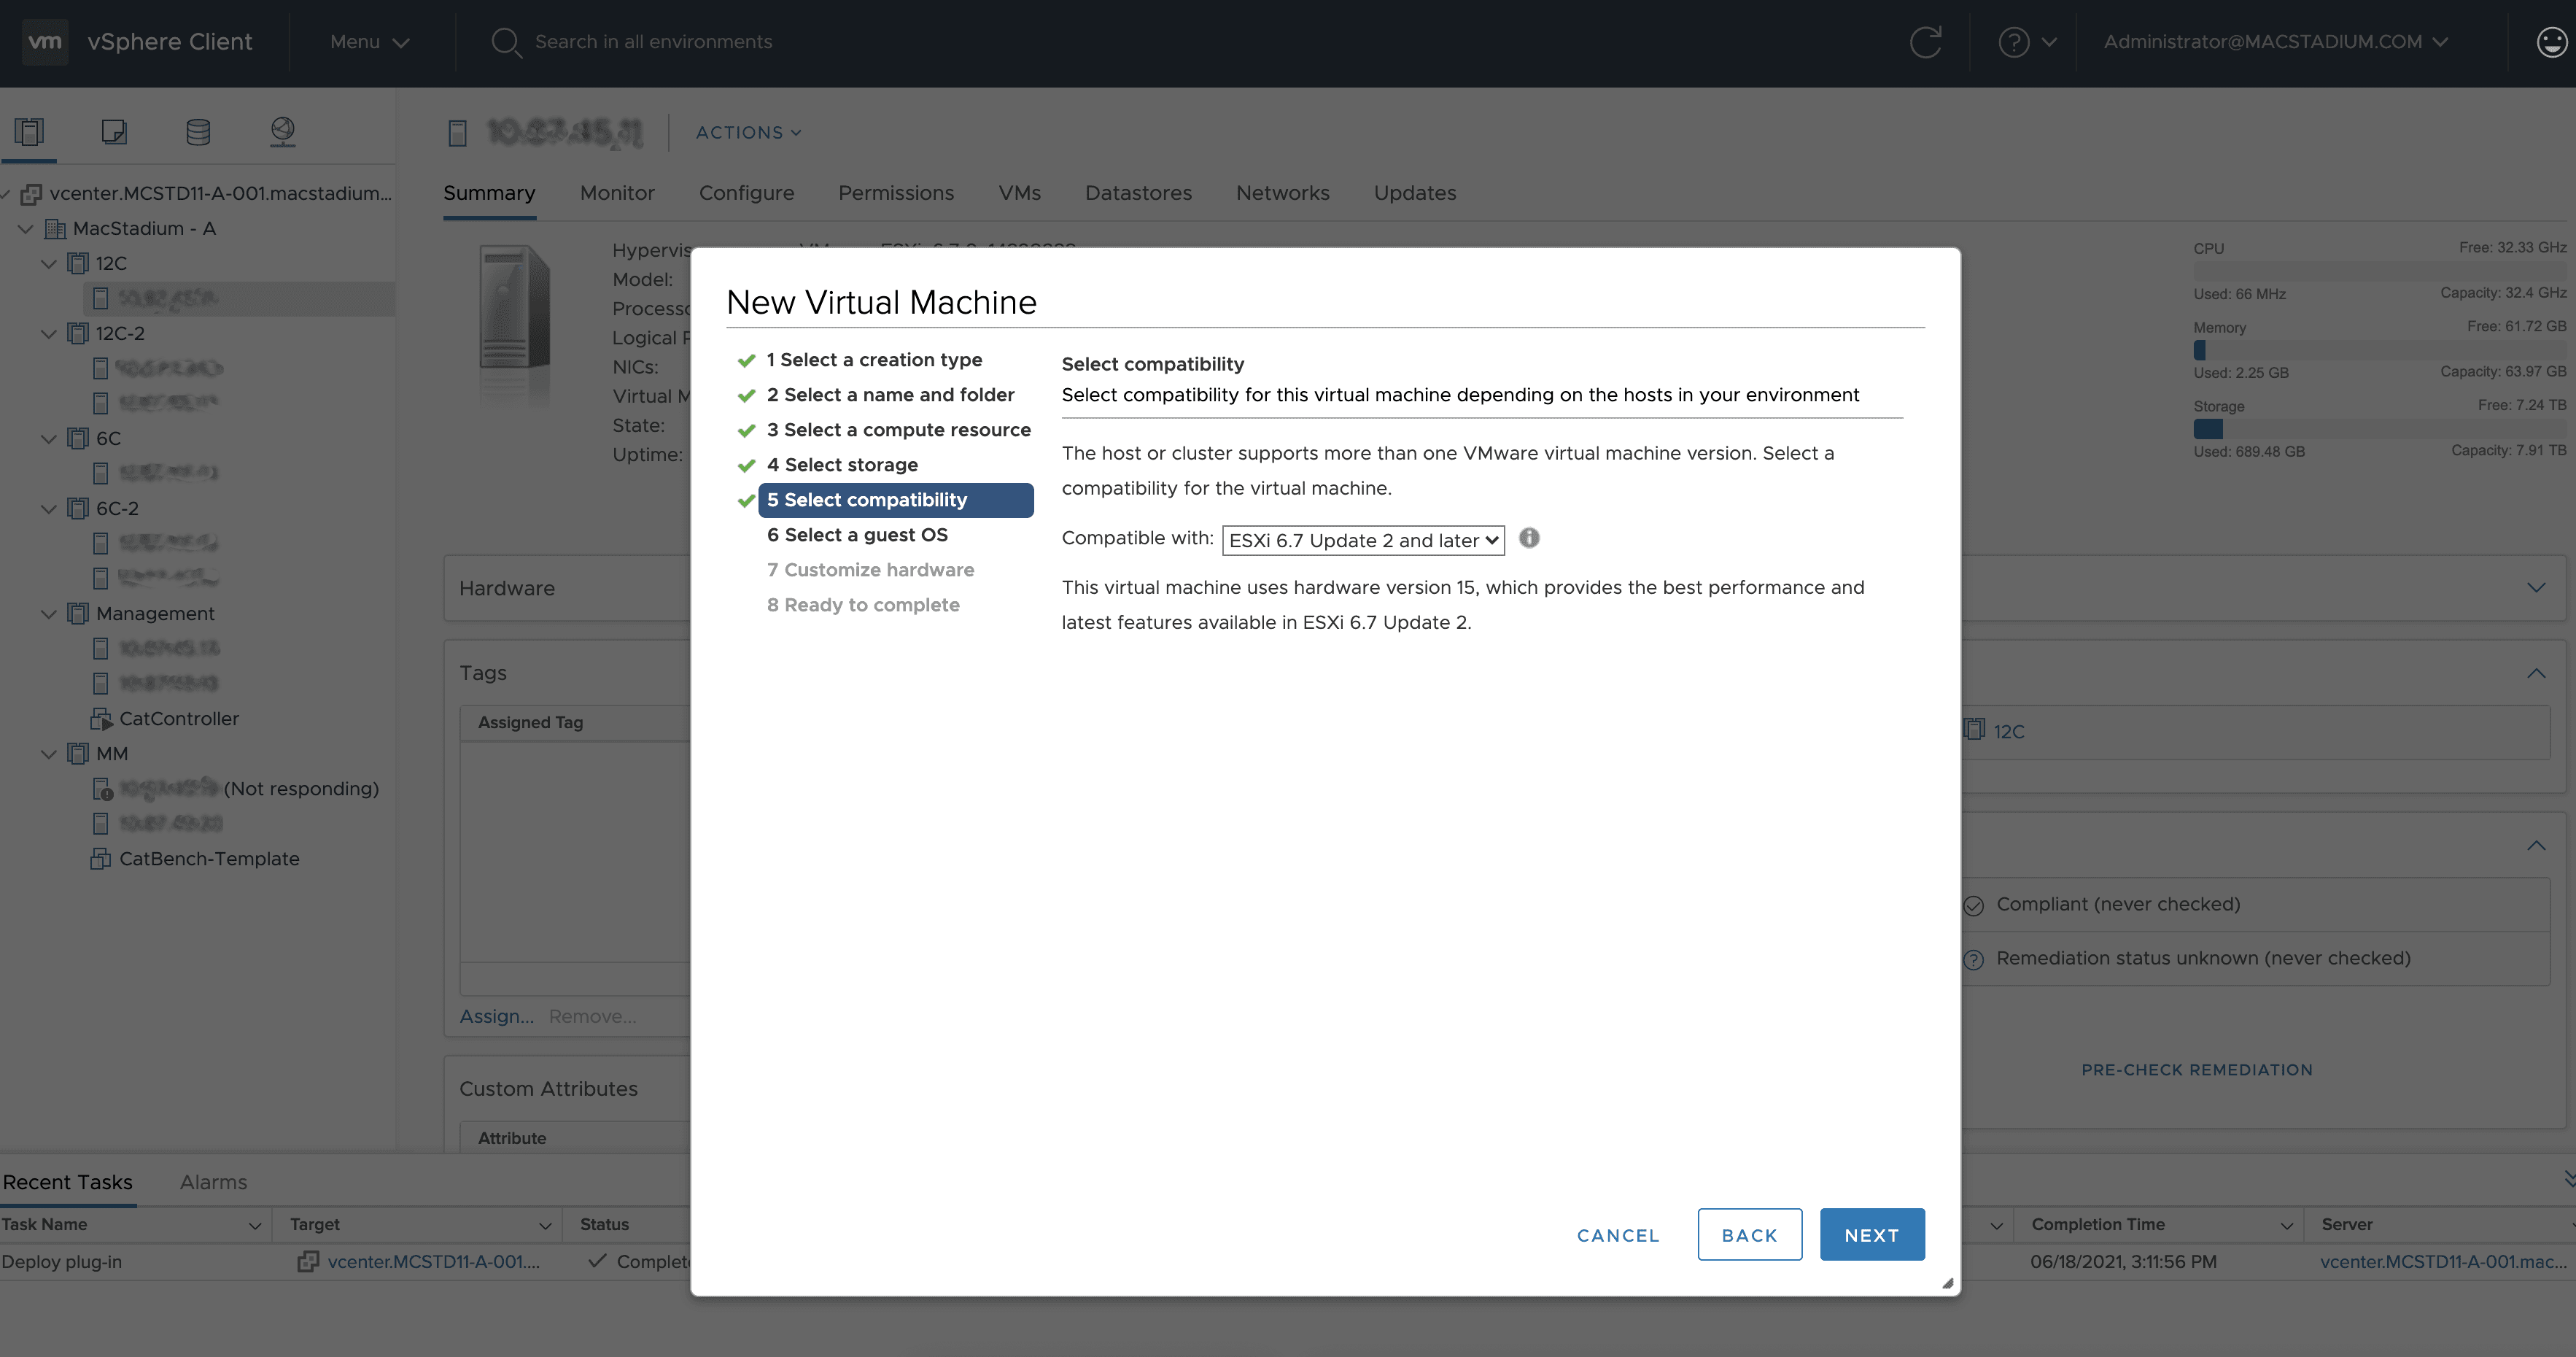
Select the default presented for Compatibility and then Next.
For Guest OS Family select Other and Guest OS Version Apple Mac OS X 12.15 (64-bit). Don’t worry if this won’t match the actual macOS version; we only need one that is close.

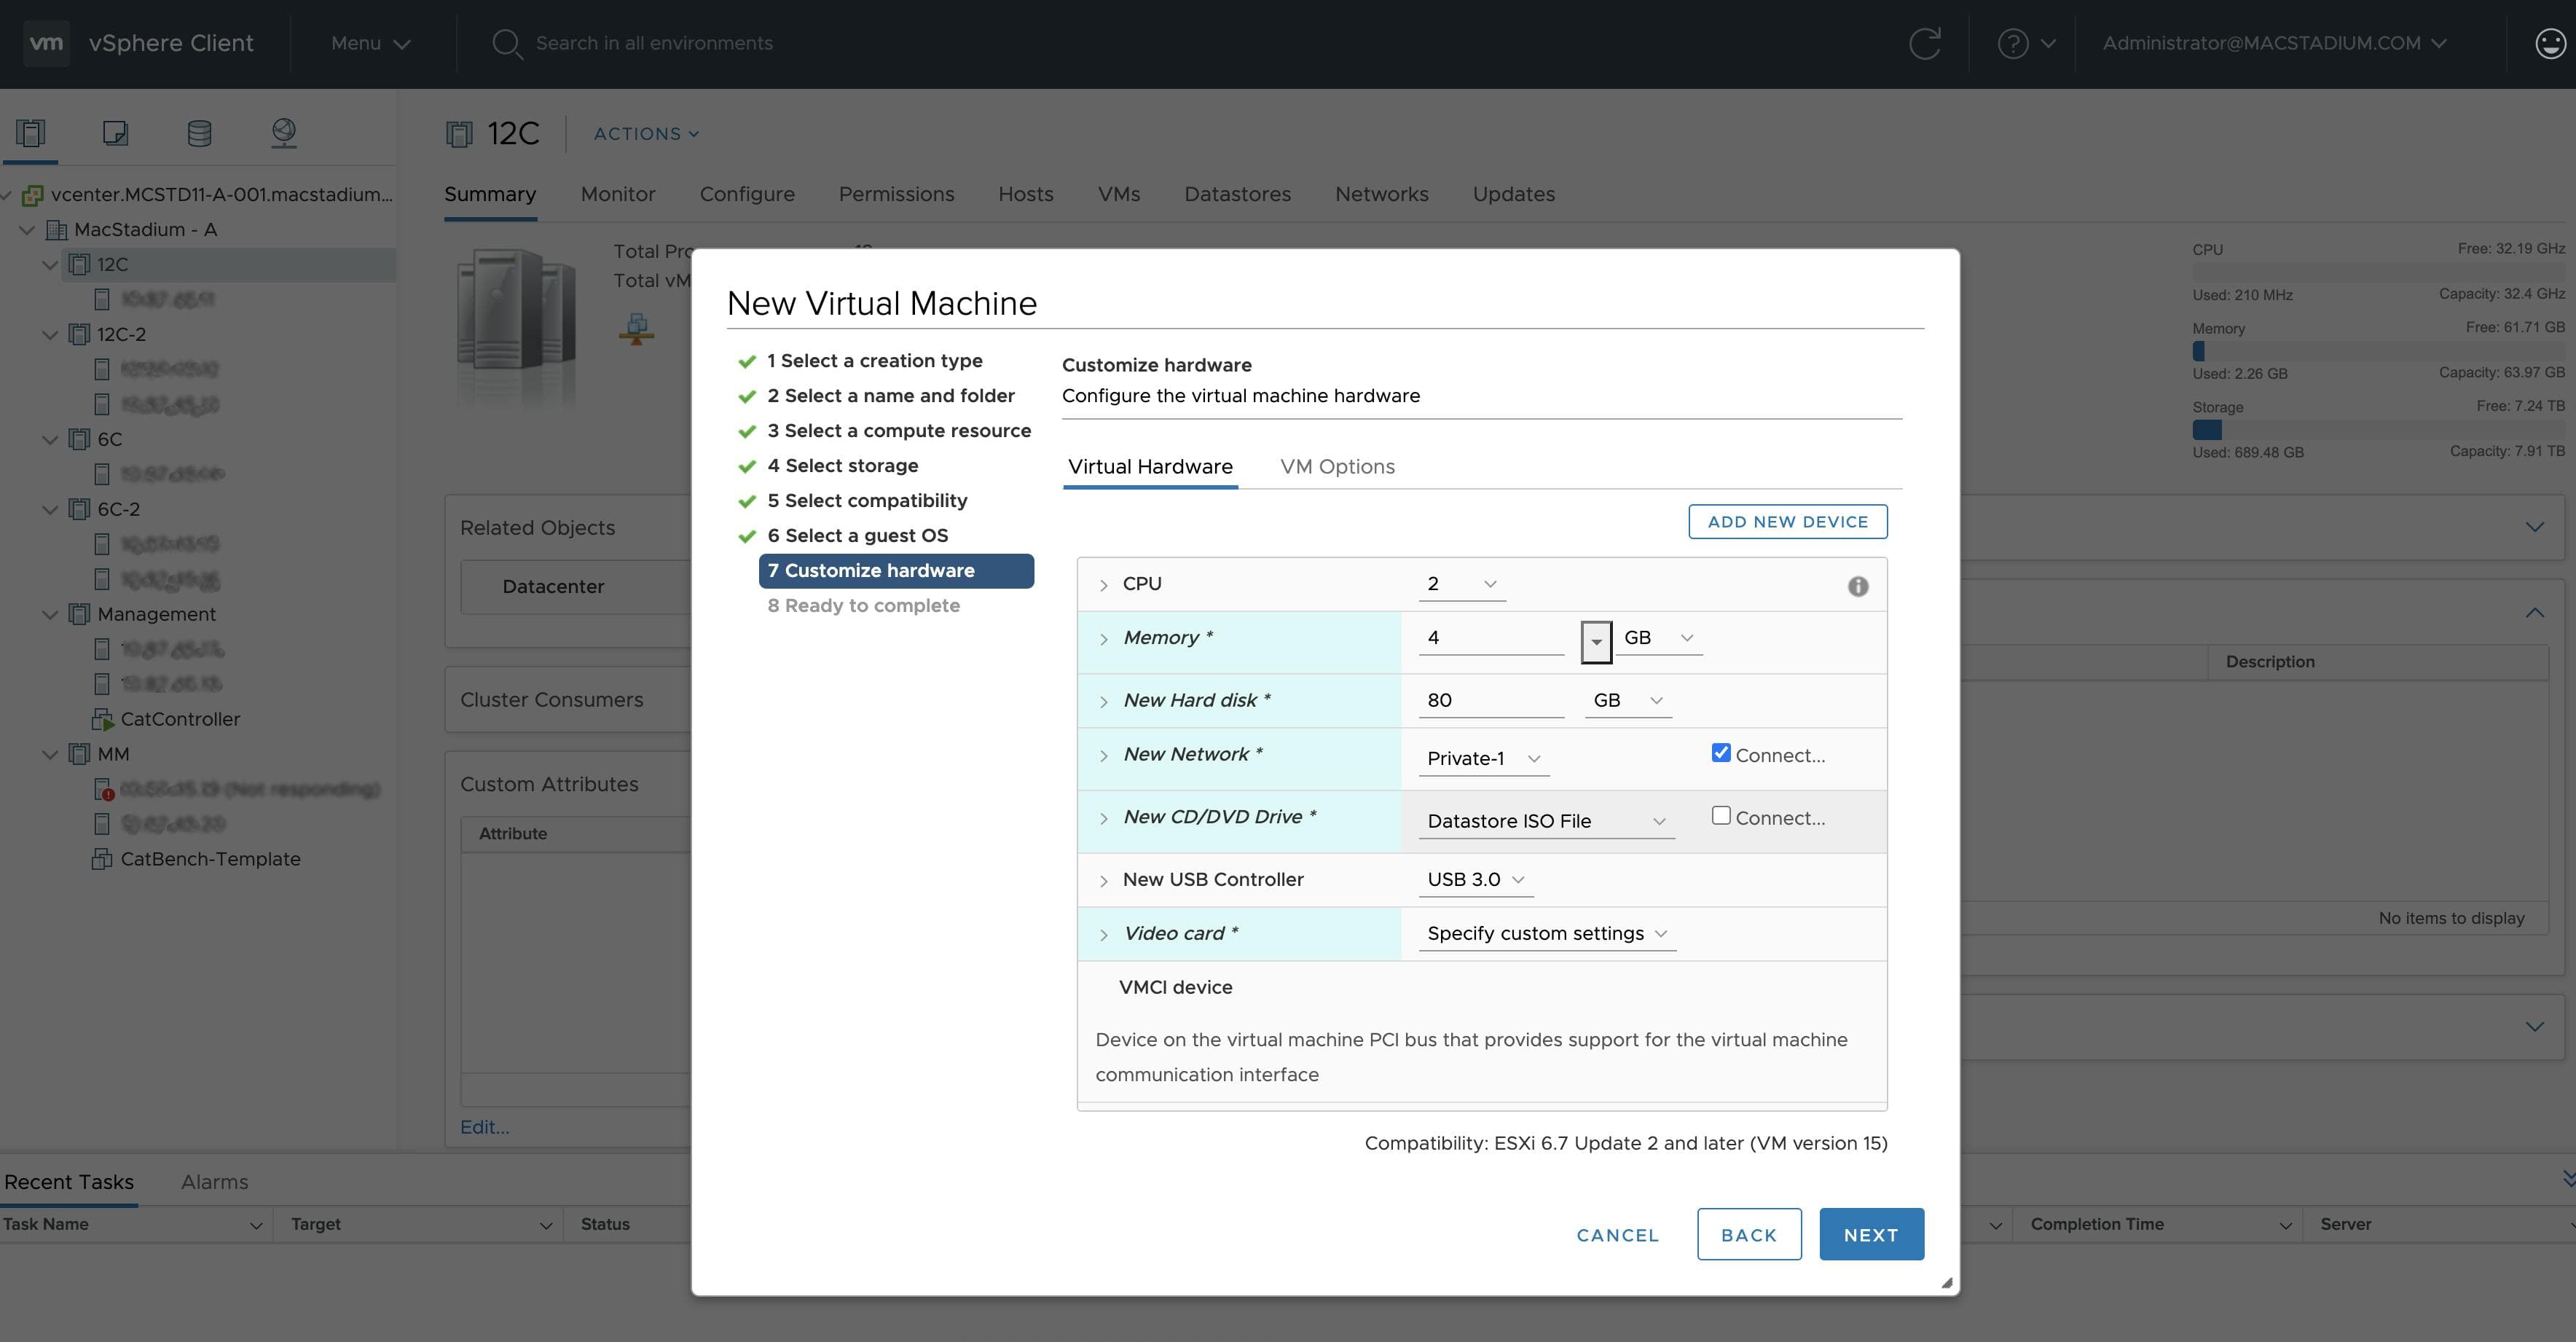
Select the following virtual hardware settings before selecting Next:
- CPU: 2
- Memory: 4GB
- New Hard Disk: 80GB
- New Network: Browse > Private-1 (The name of your private range in your IP Plan)
- Expand CPU and select Expose hardware assisted virtualization to the guest OS if you would like to set up nested virtualization with Docker.
- New CD/DVD Drive: Datastore ISO File. Select ISO > OSX > macOS_BigSur.iso. Ensure that Connect is selected.
Check to see that your summary looks correct, and then Finish.
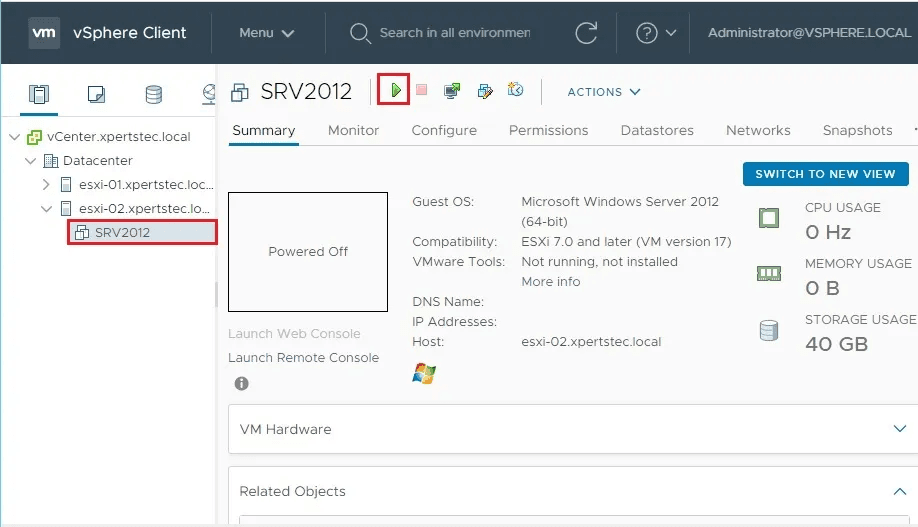
Finally, you will see your newly created VM listed under the Node on which it is running, like so:
TL;DR
Above, we looked at the process of creating your first Mac VM running on VMware at MacStadium via the vCenter UI. Have more questions? Submit a help ticket in your MacStadium portal.