Cloud-hosted Macs for every project

Unlimited
Usage

Genuine
Apple Macs

Dedicated Hardware

Root Access

Persistent
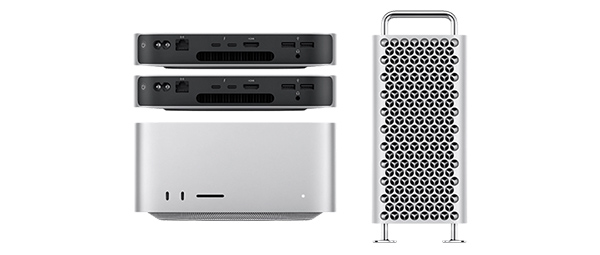
Bare Metal Mac Hardware on Demand
MacStadium offers a wide variety of standard bare metal Mac hardware. Easily select hardware from our standard, in-stock server configurations within the MacStadium Portal.
-600-255.jpg)
Customize your Mac
Choose your model
Choose your model
Choose your GPU
Choose your RAM
Choose your storage
Customize your Mac
Choose your model
Choose your model
Choose your GPU
Choose your RAM
Choose your storage
Create Your Mac cloud
MacStadium offers two ways to purchase cloud Macs:
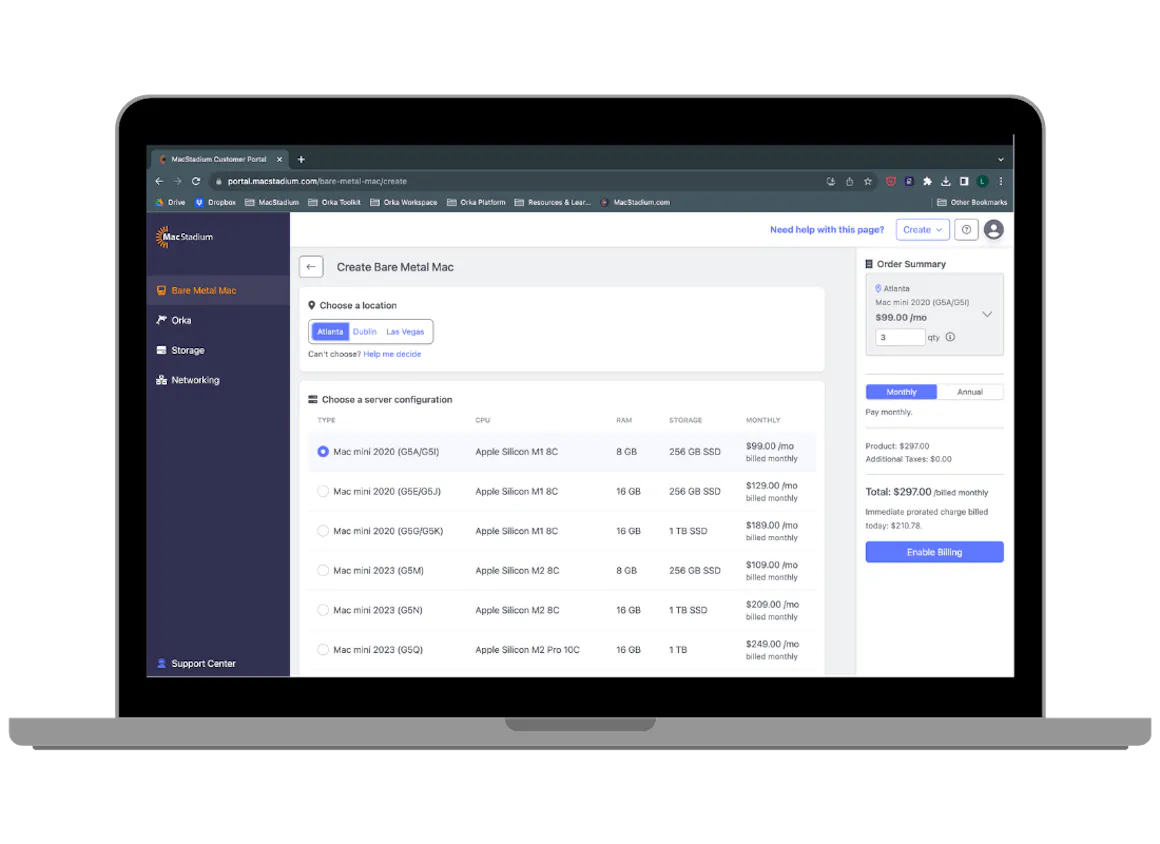
Instant Access on the Portal
Expertly curated Mac hardware, designed to meet the needs of iOS developers, game designers, open-source creators, and is available instantly through the MacStadium portal.
Immediate Portal access
Select from in stock Macs
Start building within minutes
Custom Mac Solutions
Tailored solutions for every unique . We will work with you to build a custom package. Contact our sales team to speak to an expert consultant about your specific needs.
Custom Mac hardware solutions
Professional Mac expertise
Tailored support and service options
Choosing the right Mac
MacStadium's benchmarks help you balance power, speed, and cost in selecting your bare metal resources.